
Use the Tools and Settings
We want you to do well on your tests! Benchmark eAssessments have tools and settings that you can use whenever you need extra help during a test. The following tools and settings are designed to improve your test-taking experience.
- Highlighter — Highlight text in the passage and/or question areas.
- Strikethrough — Strikethrough answer choices for Multiple Choice, Multiple Response, and Evidence-Based Selected Response question types.
- Notepad — Create notes for the test.
- Line Reader — Read the passage or question line by line.
- Image Magnifier — Zoom in on images and diagrams.
- Size — Adjust the font size in the passage and question areas.
- Page Contrast — Change the page/text contrast colors.
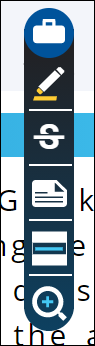
Tools
You can open or close the Tools options by selecting the Tools icon (Tool bag) at the top right of the test page.
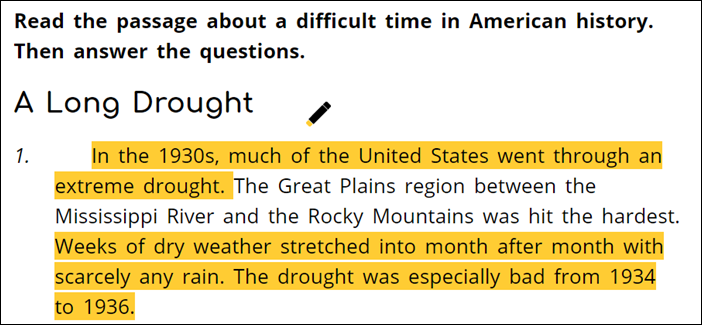
Highlight text with the Highlighter
Use the Highlighter to draw attention to important information in the passage and/or question areas for reference.
- Click or tap the Tools icon. The Tools bar opens.
- Select the Highlighter icon. The icon turns blue and the Highlighter becomes active.
- Drag the Highlighter (cursor) to the passage or question area.
- Press and drag the Highlighter (pointer) to highlight areas of text.
- Return to the Tools bar and click the Highlighter icon. The highlighter becomes inactive.

|
Remove highlighting from the passage or question areas by using a similar process. Press and drag the Highlighter (pointer) across a highlighted area of text. The text turns blue and the Remove button appears above the text. Press the Remove button to remove highlights from the selected area of text. |
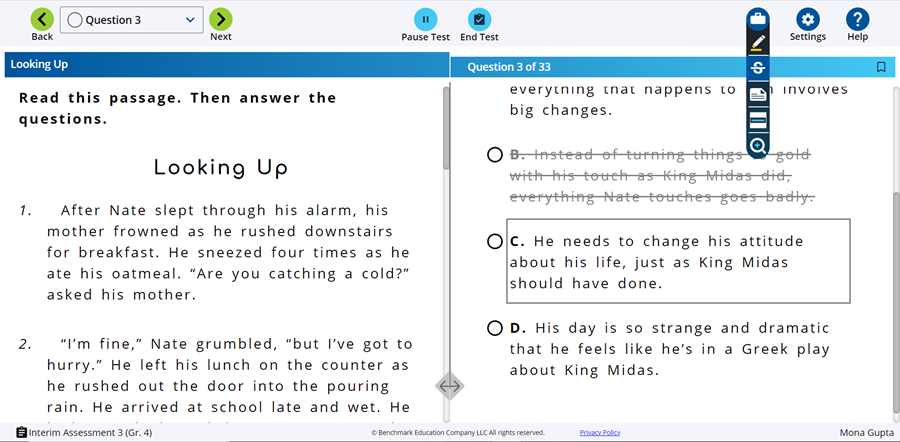
Strikethrough Answer Choices
Students can use the Strikethrough tool to strike out answer choices in multiple choice, multiple response, and evidence-based selected question types, helping them visually narrow down the correct answer to a question. The strikethrough tool works for text and images.
To strike out an answer choice:
- Click or tap the Tools icon. The Tools bar expands.
- Select the Strikethrough icon. The icon turns blue and the Strikethrough becomes active.
- Press and drag the Strikethrough (pointer) to the question section.
- Hover over the answer choice you wish to strikethrough and a box appears around the answer choice text or image.
- Select the text or image of the answer choice and the strikethrough will appear.
To remove the strikethrough for an answer choice while in Strikethrough mode:
- Hover over an answer choice with the strikethrough and select the text or image of the answer choice and the strikethrough disappears.
- Or select the radio button or check box of the answer choice and the strikethrough disappears.
To remove the strikethrough for an answer choice while not in Strikethrough mode:
- Select the radio button or check box of the answer choice and the strikethrough disappears.

|
The strikethrough selections made by a student are available for a teacher to view in the Student’s Test Review mode. |
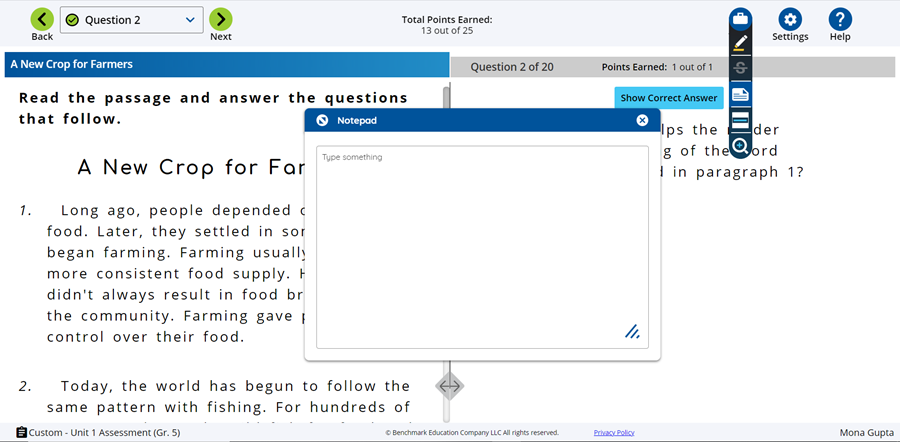
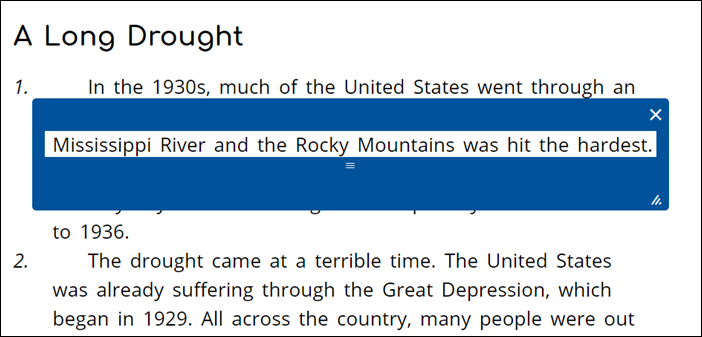
Create Notes with the Notepad
Students can use the Notepad tool to create helpful notes for the test.
To create a note:
- Click or tap the Tools icon. The Tools bar expands.
- Select the Notepad icon. The icon turns blue and the Notepad appears on the screen.
- Enter your notes into the text entry box. Notes are retained as students move from question to question.
- Close the Notepad by selecting the [x] in the Notepad header or unselecting the Notepad in the Tools bar.
To adjust the size and location of the Notepad:
- Select the (
 ) icon in the lower right corner of the Notepad and drag to adjust between the minimum and maximum size.
 - Select the (
 ) icon in the upper left corner to expand and collapse the Notepad tool.
 - Use the blue Notepad header and move the tool to a location to easily access again.
|
|
The contents of the Notepad are available for a teacher to view in the Student’s Test Review mode. |
Read line by line with the Line Reader
Use the Line Reader to better focus, visualize, concentrate, and retain the information you are reading online.
- Click or tap the Tools icon. The Tools bar opens.
- Select the Line Reader icon. The icon turns blue and the Line Reader tool appears.
- Press and drag the slanted lines (/) at the bottom right of the Line Reader tool to resize it, if necessary.
- Press and drag the horizontal lines in the center of the Line Reader tool up or down to resize the reading strip from a single line to multiple lines, or the other way around.
- Click or tap the Close (x) icon when you are done using the tool.
Zoom in with the Image Magnifier
Use the Image Magnifier to zoom in and get a closer look at pictures or diagrams on the test page.

- Click or tap the Tools icon. The Tools bar opens.
- Select the Image Magnifier icon. The icon turns blue and the Image Magnifier is activated.
- Hover the pointer over a picture to enlarge an area, as necessary.
- Return to the Tools bar and click the Image Magnifier icon. The Image Magnifier becomes inactive.
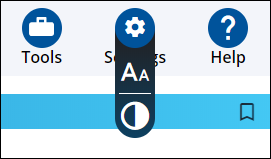
Settings
You can open or close the Settings options by selecting the Settings (Gear) icon at the top right of the test page.
Make the text larger or smaller
Use the Larger or Smaller text settings to change the text size of the test content to your comfort level.
- Click or tap the Settings icon. The Settings bar opens.
- Select the AA icon. The font size options appear.
- Click or tap the A+ or A- icons to make the font size larger or smaller.
- Continue using the A+ or A- icons until you are satisfied with the text size on the screen.
|
|
You can use the Reset option to return the text size to its original setting and start over, if necessary. |
Adjust the page/text contrast color
Use the Adjust Contrast setting to set page background and text colors that visually work for you when reading test content online.
- Click or tap the Settings icon. The Settings bar opens.
- Select the Adjust Contrast icon below the Text Size icon. The contrast options appear.
- Select one of the following Contrast options.
- Black/White
- Pink/Black
- Blue/Orange
- Light/Dark Gray
|
|
You can use the Reset option to return the contrast to its original setting and start over, if necessary. |
Last Updated: June 30, 2022