
Listen and Grade a Speaking Assessment
For certain speaking assessments, students will be able to record themselves speaking the answer to questions while taking a test. Prior to the test, the student will take a microphone test to ensure their microphone is set up properly. After the student takes and submits their test, the teacher can play back the student’s answer to each question and grade their response appropriately.
If you're looking for a particular section about grading a speaking assessment, use the links below to quickly move to that section:
Getting a Student Ready to take a Speaking Assessment
Assigning the Speaking Assessment
Listen and Grade a Speaking Assessment
Getting a Student Ready to take a Speaking Assessment
You should always give students instruction on how to take a speaking assessment on their own before they get started. Here are a few tips:
- You might want to ensure that they have their microphone enabled and functioning on their device. Students will need a device with a functioning microphone if you want them to take the assessment independently.
- It’s good to be familiar with what the student will see. Check out the Student Help page.
- Show the student how to navigate the Microphone Check.
- Explain to the student how the recording button works.
Assigning the Speaking Assessment
Assign the speaking assessment by creating an eAssessment assignment.
Listen and Grade a Speaking Assessment
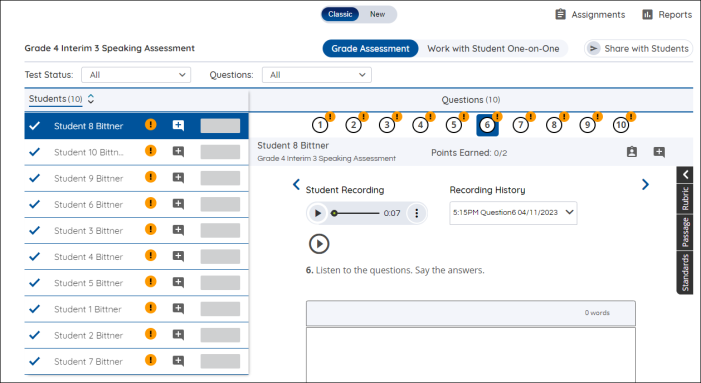
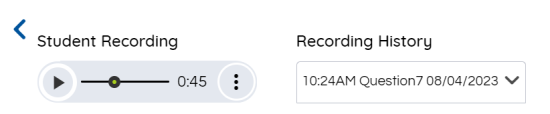
Access a student’s completed test through the Grade View. The student’s recorded answers appear above the question, next to the Recording History dropdown. Use the Play button to listen to a student answering the question. Pause the recording by using the Pause button.


|
Since the recording starts as soon as the student navigates to each question, there's some dead air at the beginning of the audio file, as the student is reading/listening to the passages and questions and developing an answer. If you don't hear the student's response right away, scan through the audio to get to the student's response.
Use the More Options button to access the adjust volume slider, and the Rename and Delete buttons. |
Rename a Recording
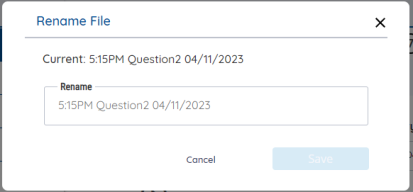
Use the Rename button to access the Rename File modal. Use the text entry box to rename the currently-selected recording. Use the Save button to confirm the recording’s new file name.
Delete a Recording
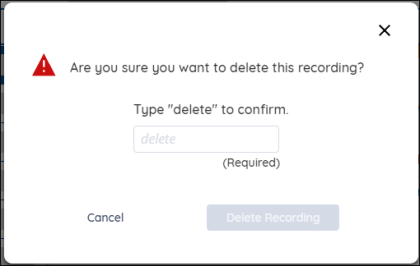
Use the Delete button to access the Delete File modal. Use the text entry box to type “delete” into the text entry box to activate the Delete Recording button. Use the Delete Recording button to permanently delete the currently-selected recording.
Use the Recording History
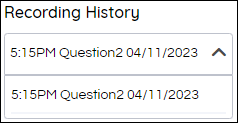
If there are multiple recordings, you can select the one you’d like to hear from the Recording History dropdown. Once you’ve selected a recording, use the Play button to listen to it.
Grade a Recorded Answer
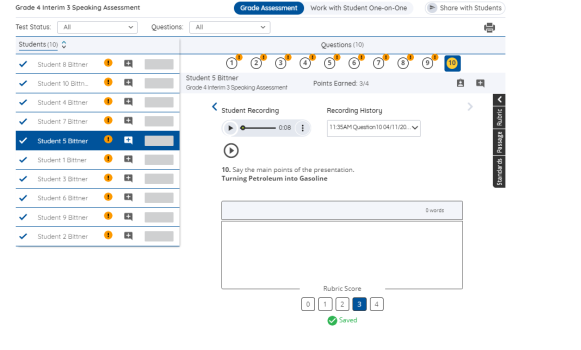
After reviewing a student's answer, assign a grade to the question by clicking on a number from the rubric score. A score can be changed by clicking on another number from the rubric score. The student’s points earned will change and be reflected in the raw score and by the achievement level color.
Processing and Error Icons
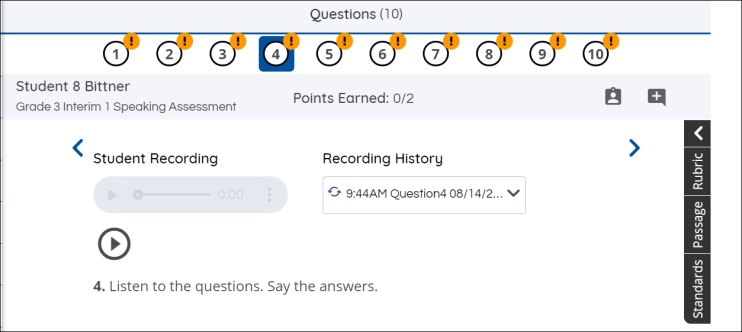
If you see this processing icon, the recording needs more time to process. It is suggested to wait some time, refresh the page, and then see if the recording has processed.
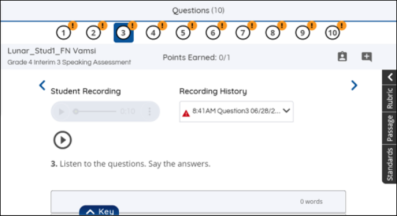
If you see this error icon, move student test back to In Progress status, and have the student record the answer and submit the test again.